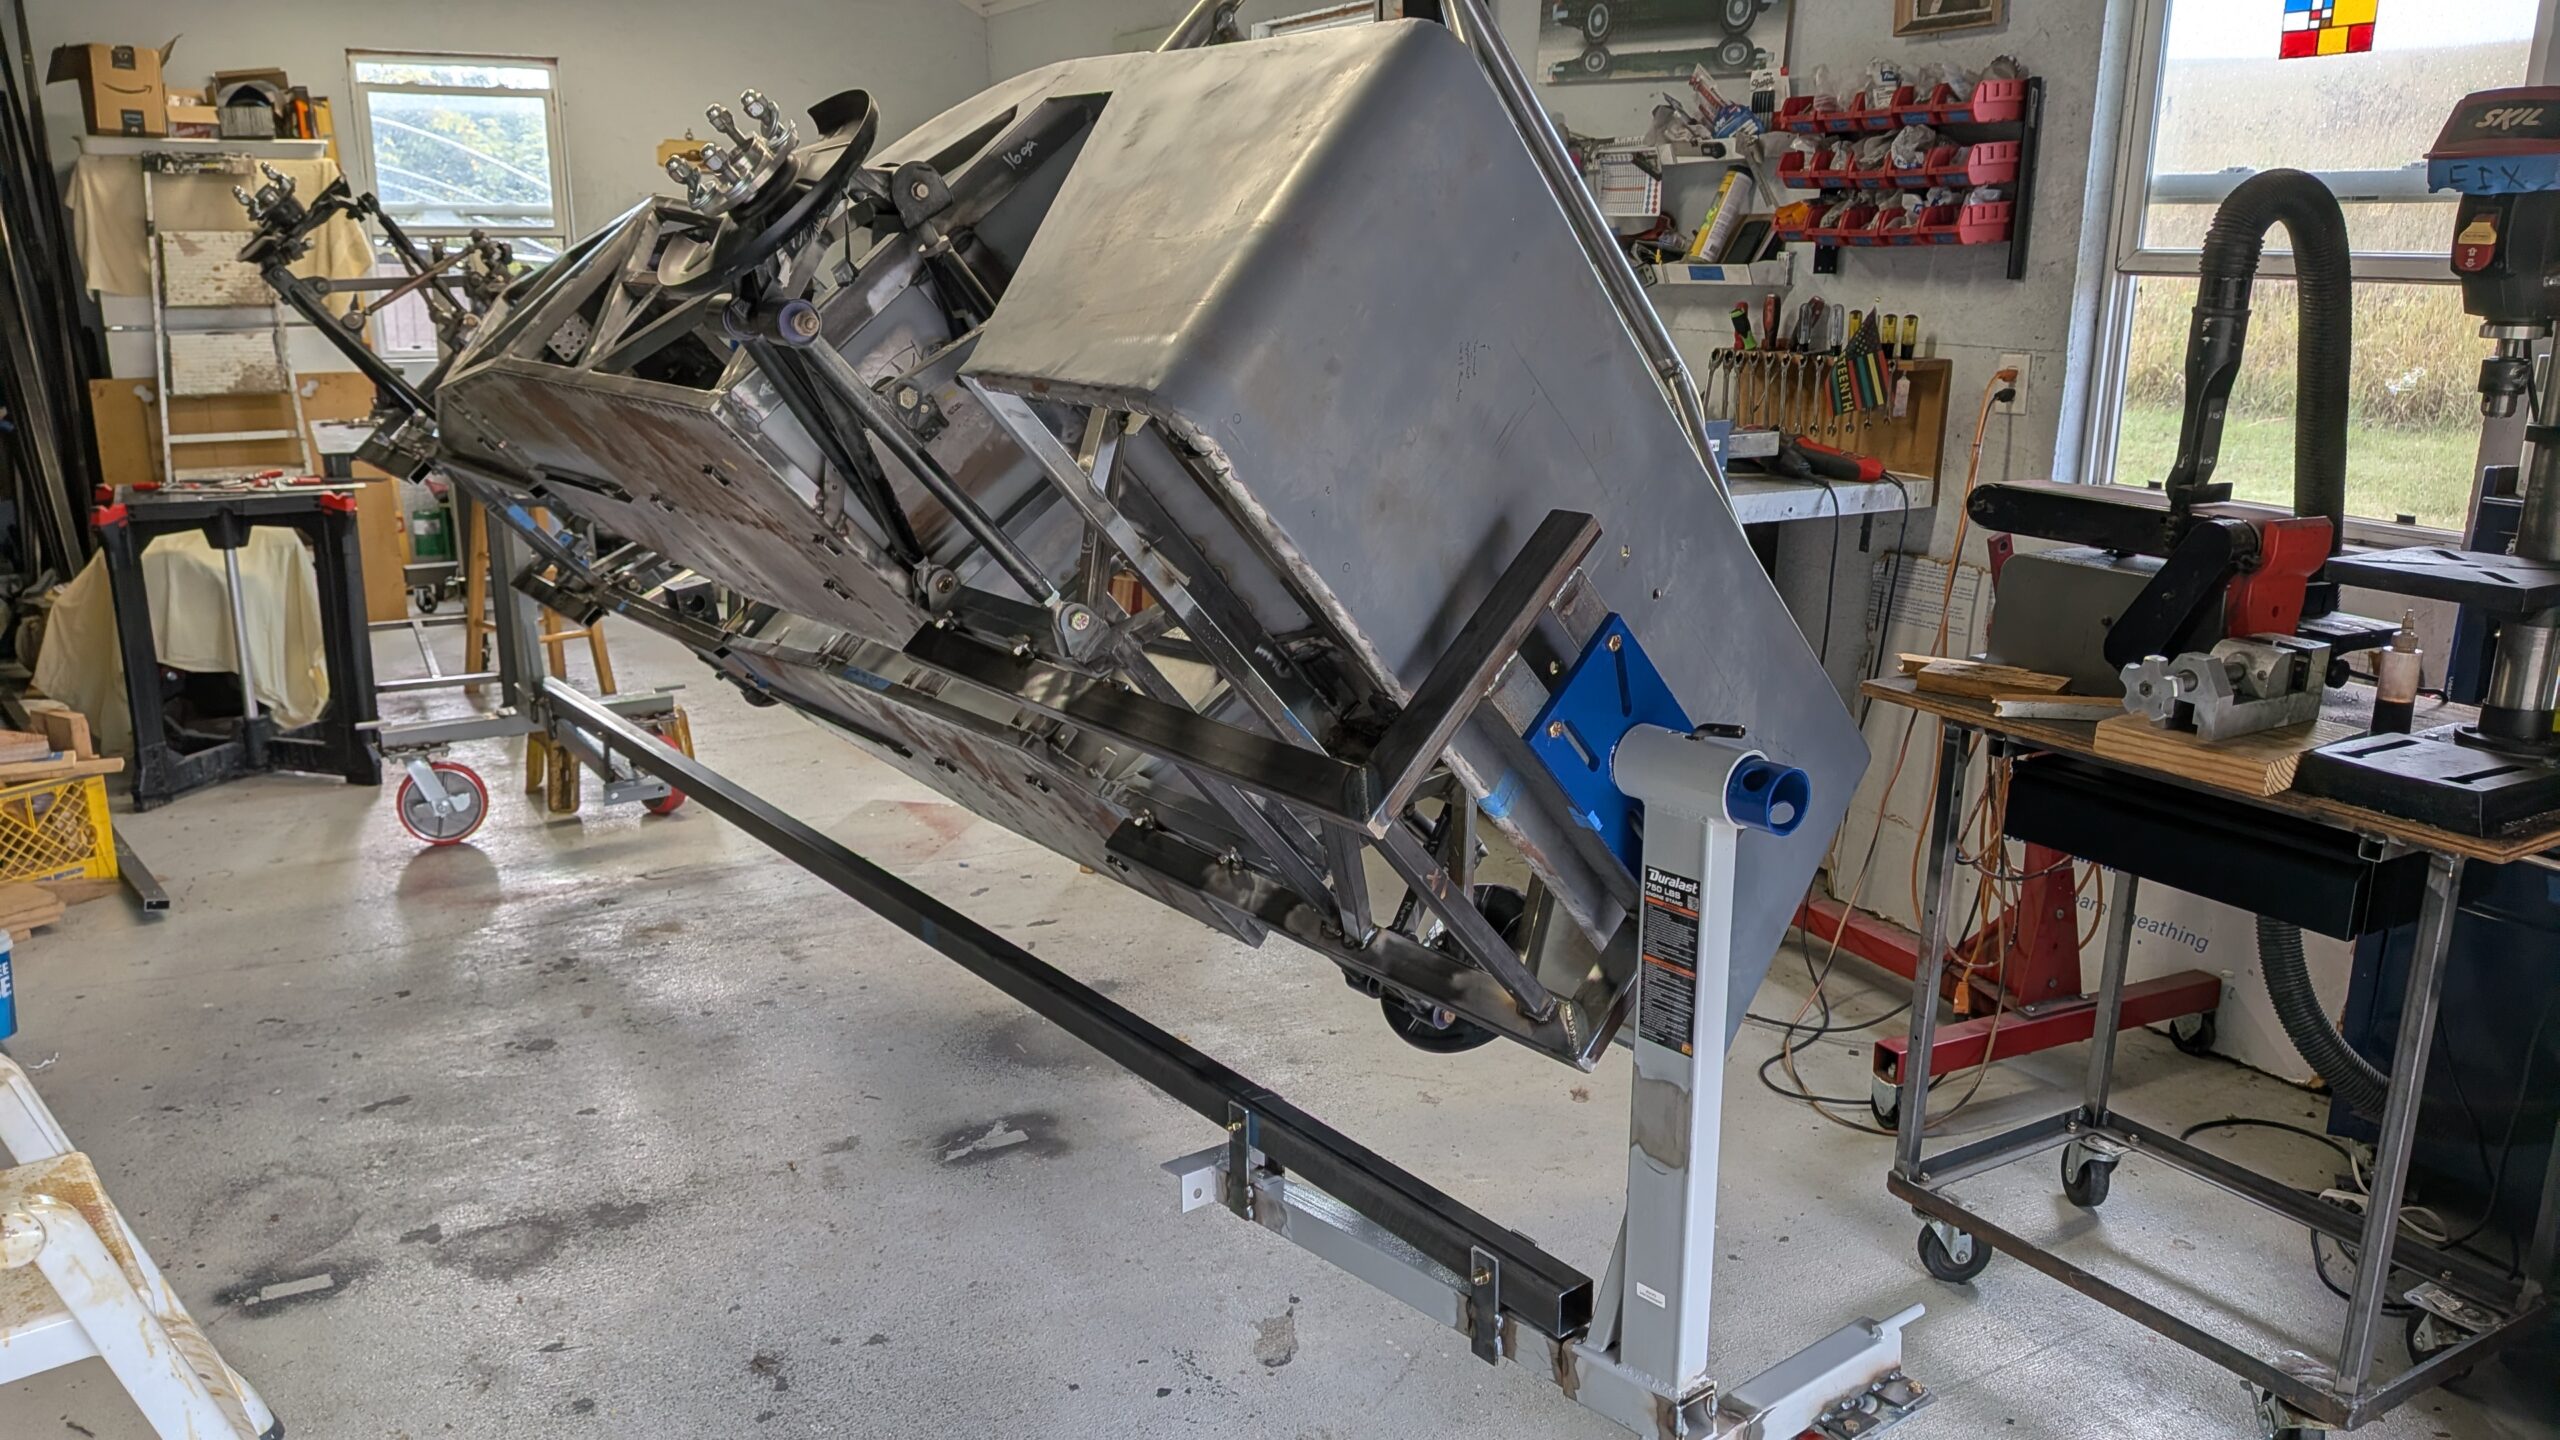
OK, I had the engine on the table in approximately its final location and the differential in the frame. This shows the PPF before shortening. The problem is that this beam is all curved, there are no flat or square sections. So it gets tricky to shorten it and still have it be shaped exactly as required. If I do this again, I would cut it to the correct length, but then do the welding with the PPF in the car and attached to the engine and the differential in their final positions. I did the opposite. I cut and welded (paid a professional welder) the PPF, then made the final engine and differential installations.
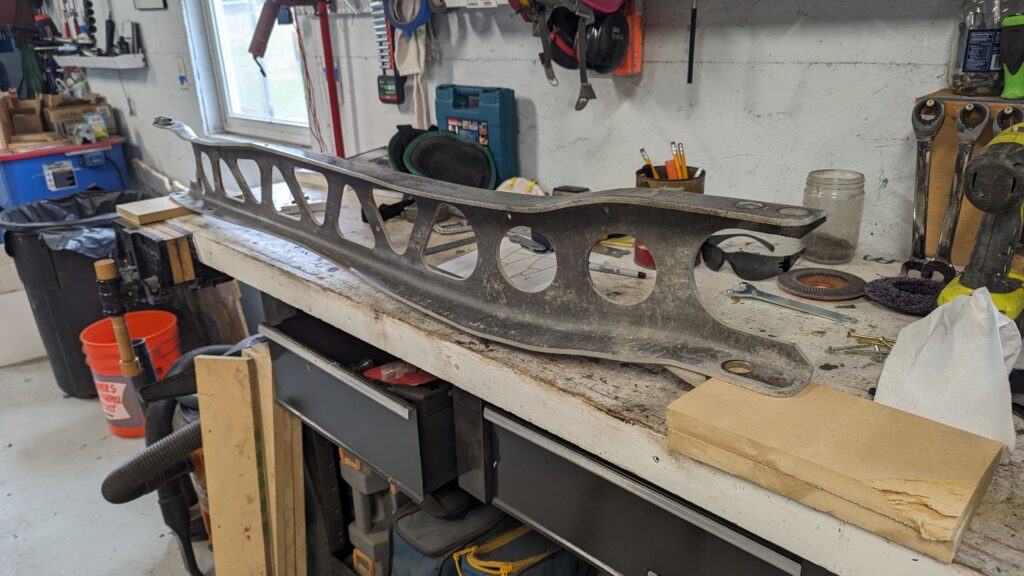
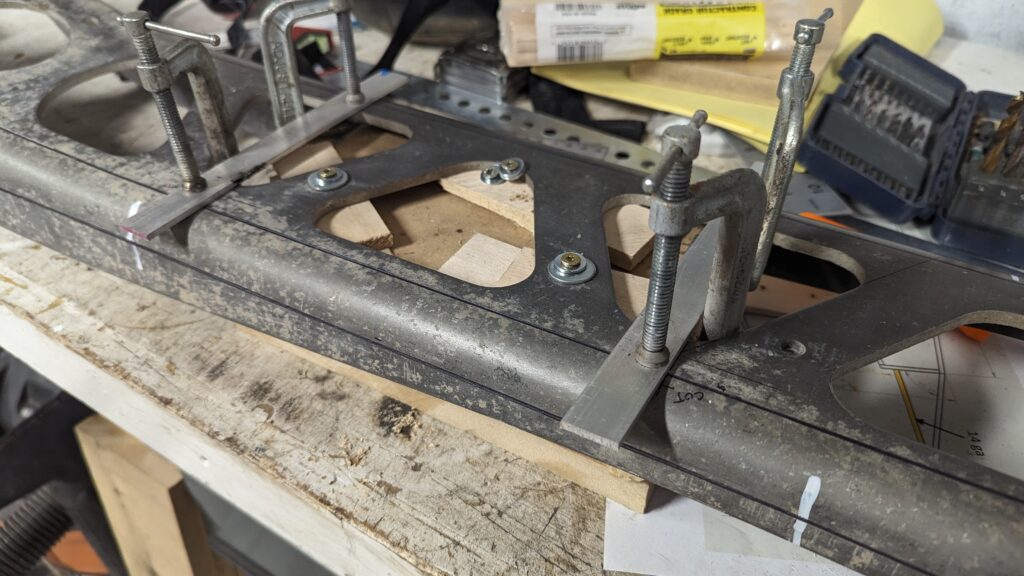
I measured how much I needed to shorten the PPF. As shown in the picture below, I removed the piece between the two clamped metal straps. Note that I have the PPF attached to a wood support that ensured the two cuts were vertical relative to the support. The lines are for reference when the two pieces are welded together.
This shows the PPF after the cuts were made.
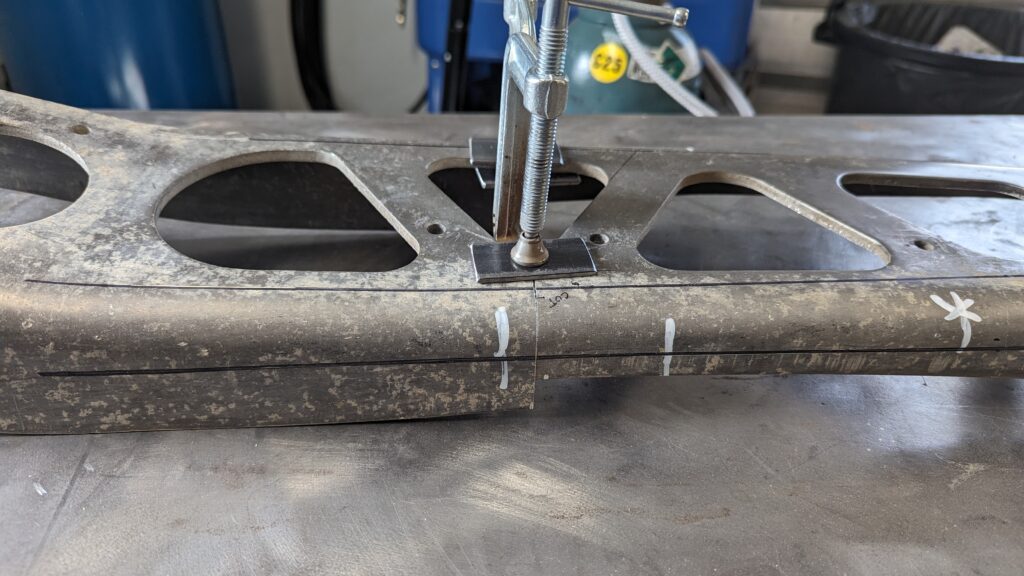
Now I have beveled the joints in preparation for welding. You can see I also cut two triangles to transition between the two pieces.
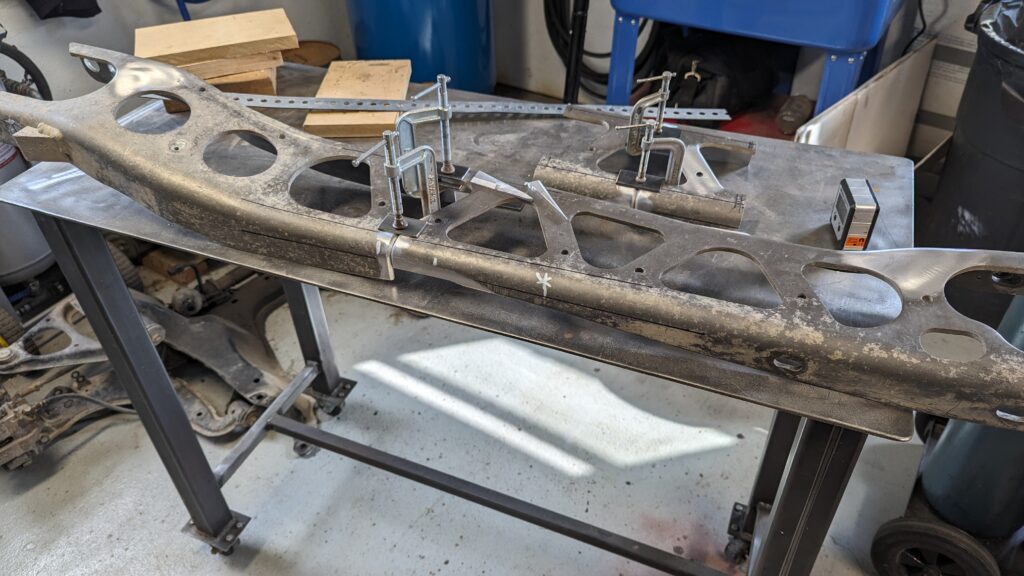
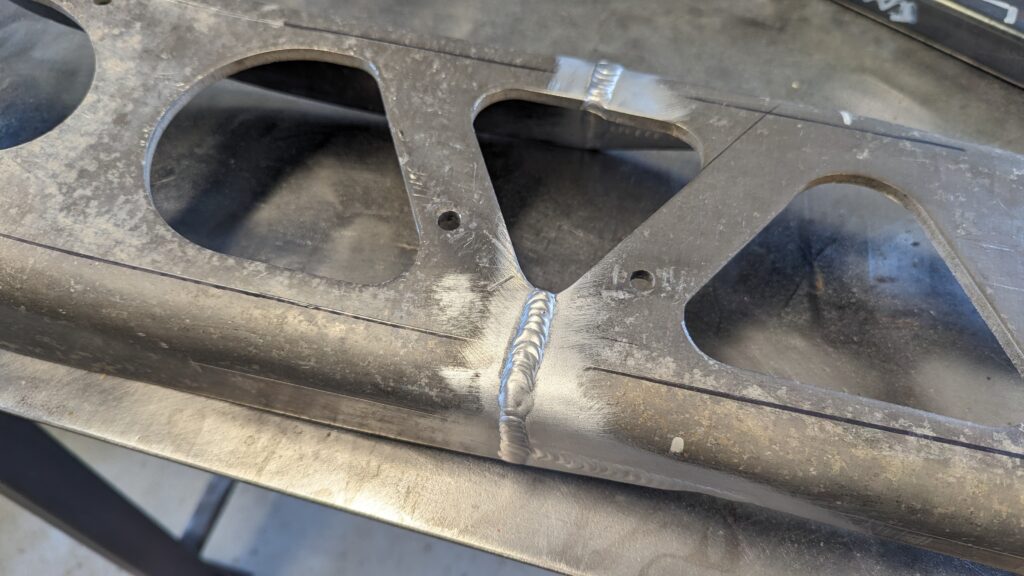
And this is after welding. McIntire Welding Services in Salina, Kansas did a beautiful job welding.
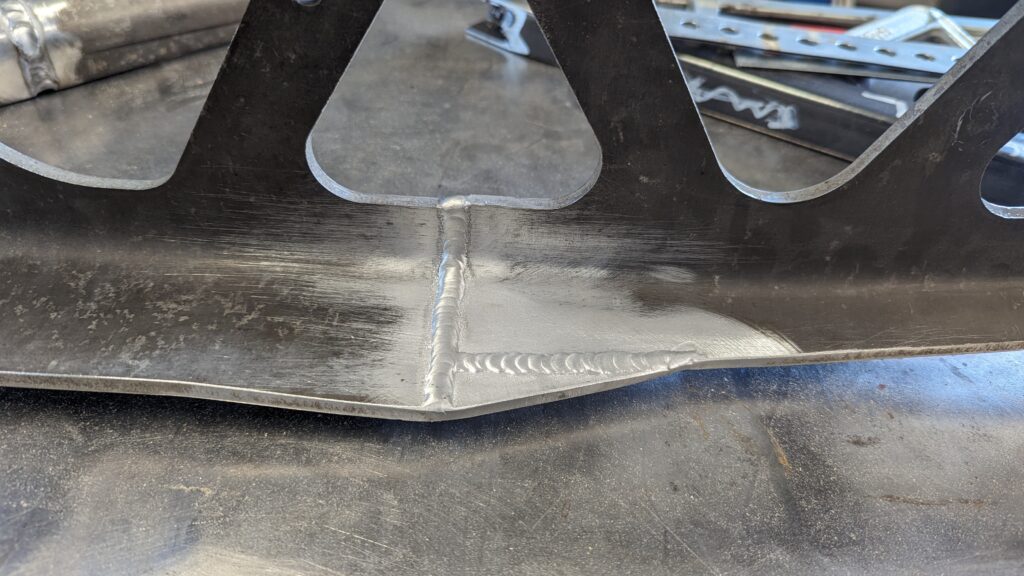
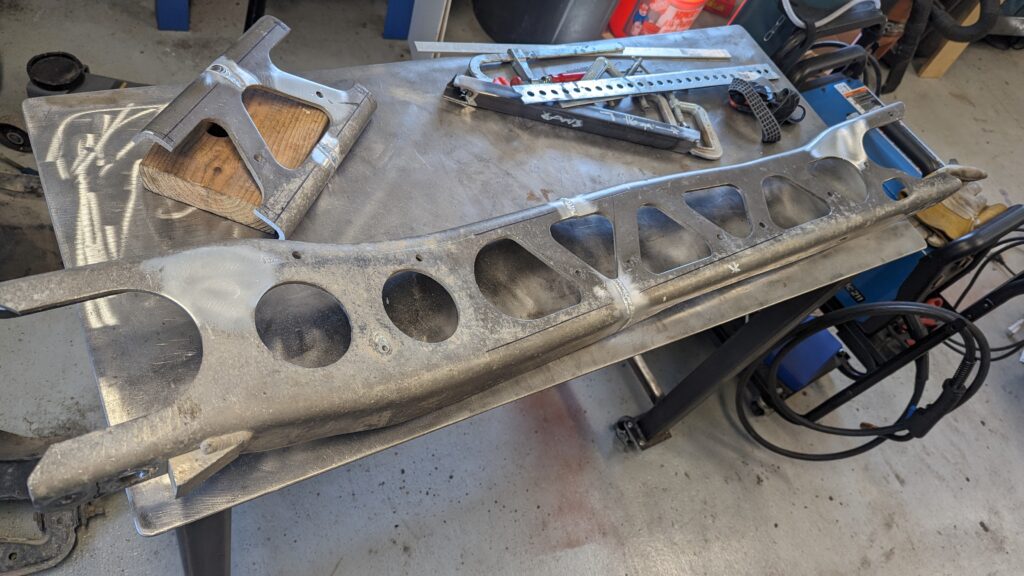
And here is the PPF ready for installation. You can see that we used the piece we cut out for practice welds before making the final welds in the PPF.
The date is April 29, 2024.