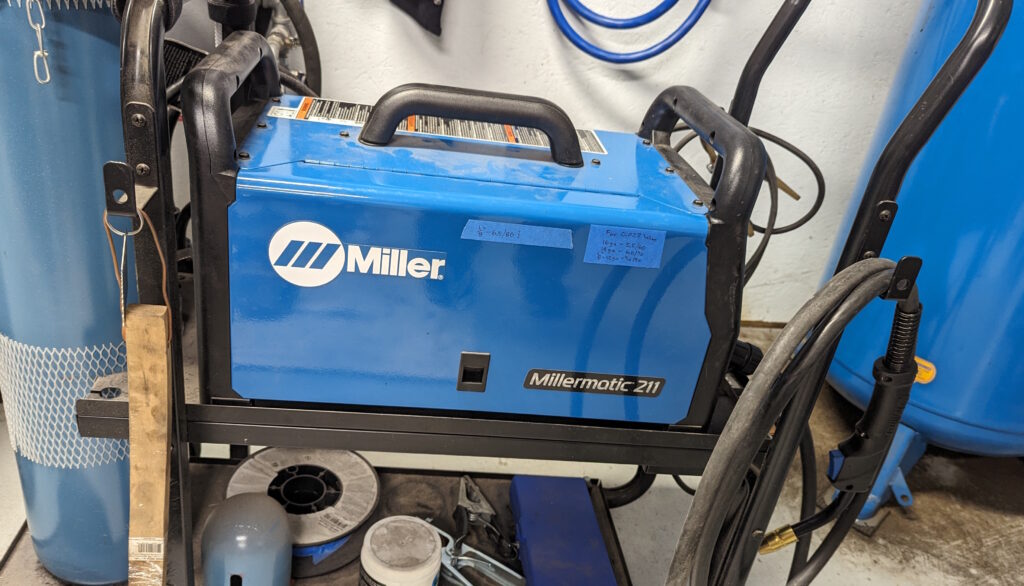
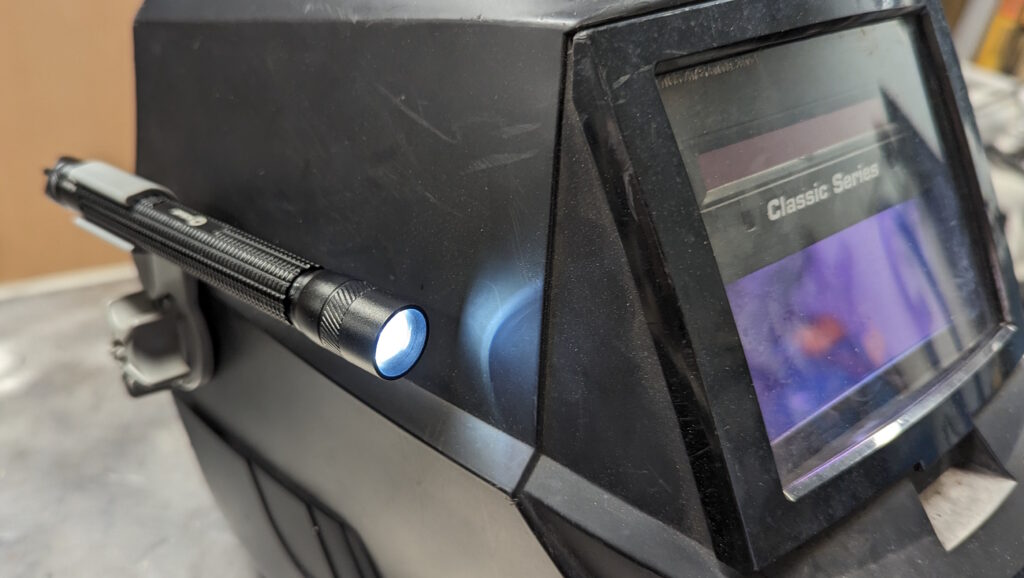
I don’t claim to be a great welder, my goal is to make welds with adequate strength. My welder is a Millermatic, a good basic hobby machine. I have a low end Miller helmet with lights that help you see your work.
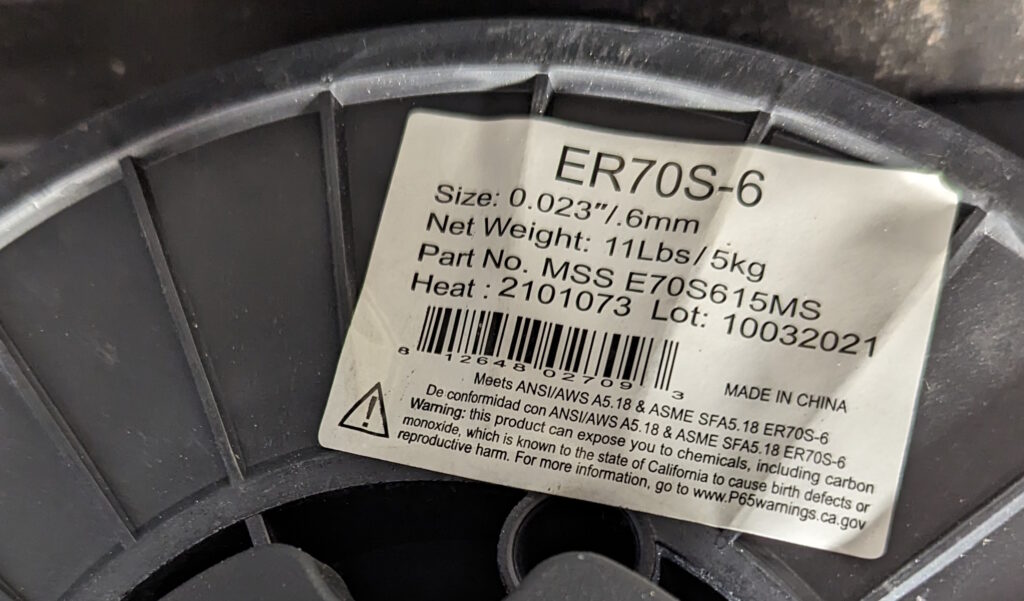
16 gauge square tubes are pretty thin. Using 0.023″ (0.6 mm) wire helped. Make sure you also change the hose liner to match the thinner wire.
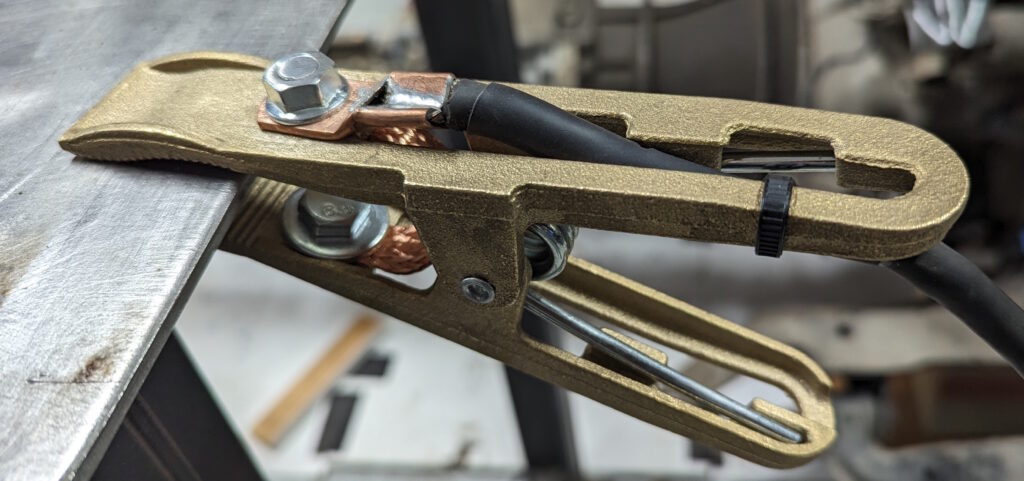
A good ground clamp helps a lot. I often clamp the tips to the work piece to help make sure the connection is good.
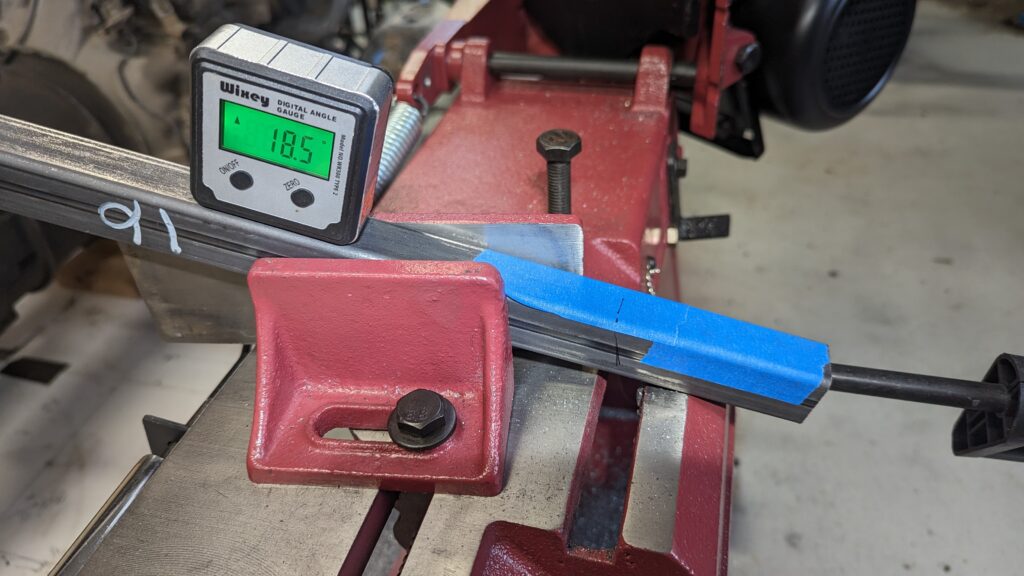
When I started, I used an abrasive chop saw to cut the tubing. This works, but is really dirty (I ended up wearing a respirator). A basic metal bandsaw (Harbor Freight) makes much cleaner cuts at more precise locations. You can even make compound angle cuts.
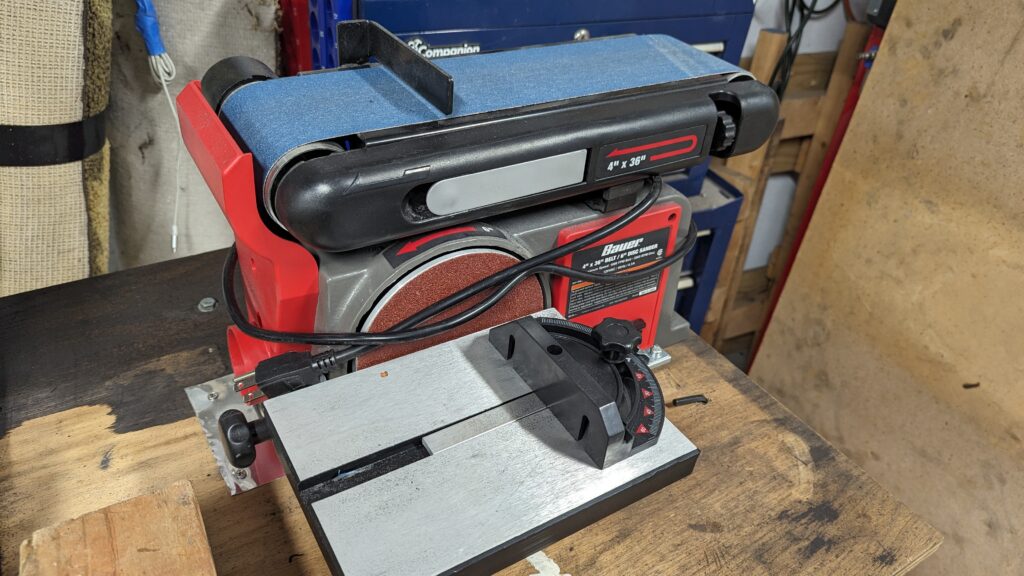
Also, for adjusting tube ends, a flat sander really helps.
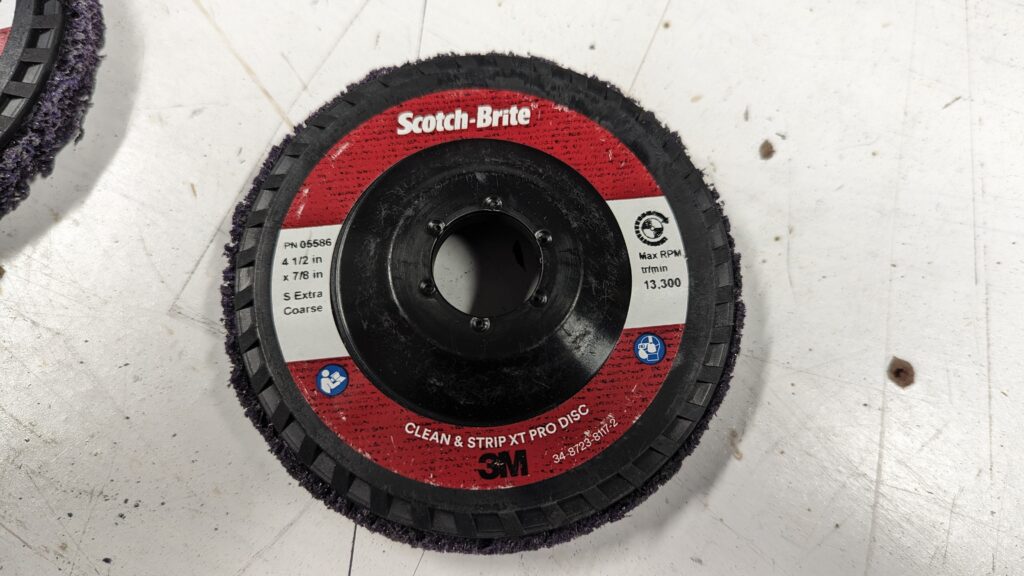
I use Scotch-Brite Clean & Strip XT Pro Discs to clean the metal before welding. This really cuts away any scale or rust without digging into the metal. It fits into a standard angle grinder.
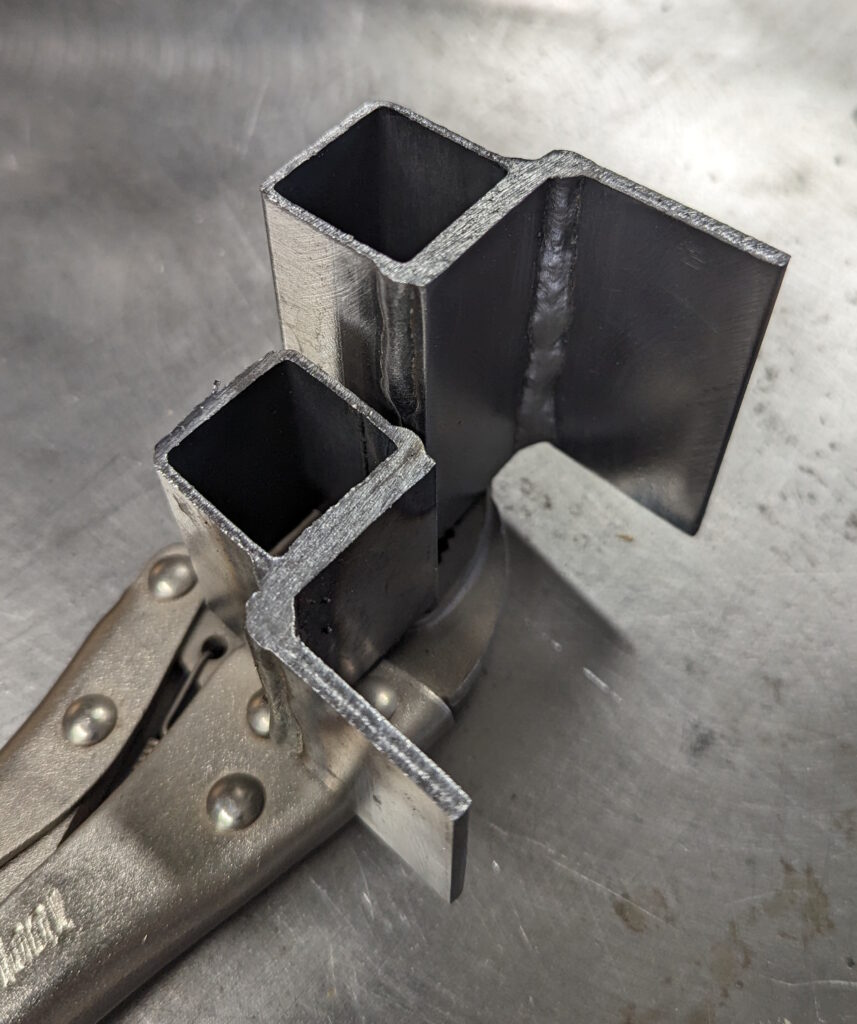
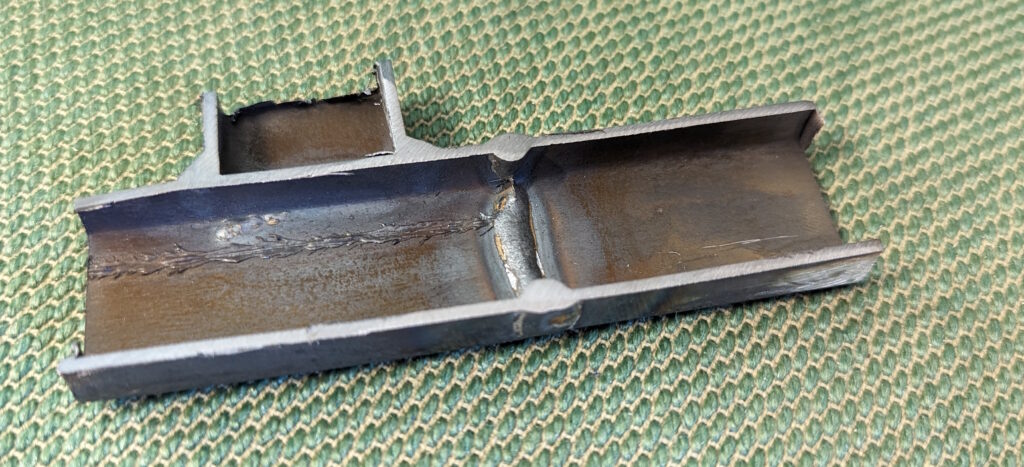
I try to hold the gun perpendicular to the work with an angle in the direction of travel. After some practice my welds started to get better. As I mentioned, thinner wire, a good ground, and clean metal are all critical. To see how I was doing I cut some of the tubes I had welded. To my eye, these sectioned welds show good penetration and strength. Maybe a bit weak at the corners. Probably it would help to grind away the tack welds a bit more.
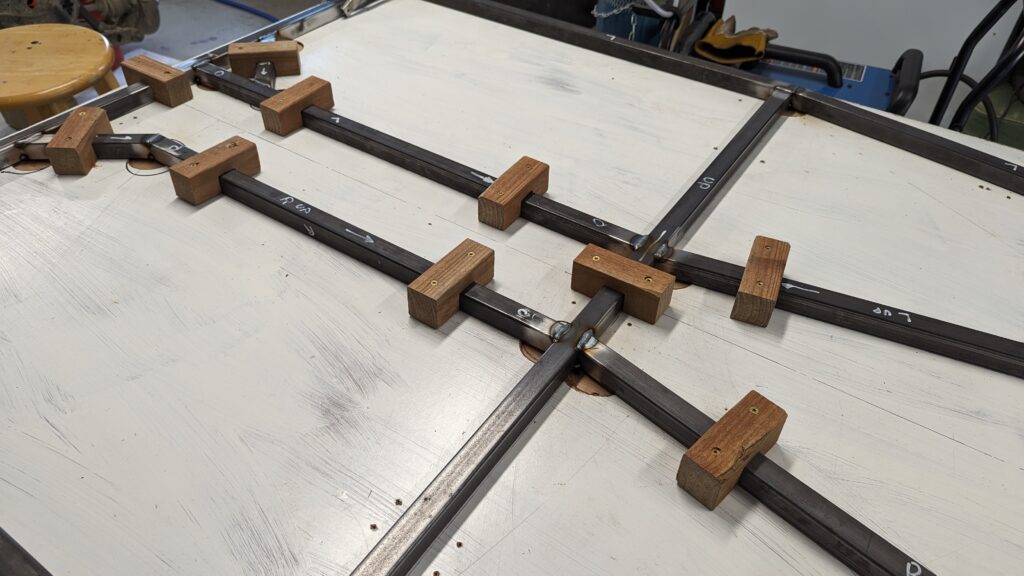
I draw the pattern on the table and use wood clamps the hold the tubes in position when welding. Kinetic Vehicles suggested laying a thin sheet of painted fiberboard on the table and then cutting holes where you will weld. That keeps the table from burning and also lets you flip the frame to weld the bottom side without grinding the welds flat.
Hopefully the following welds will be strong enough in the build. Of course, it is not possible for me to weld the narrow angle so I will probably add a support plate. I still need to weld the front.
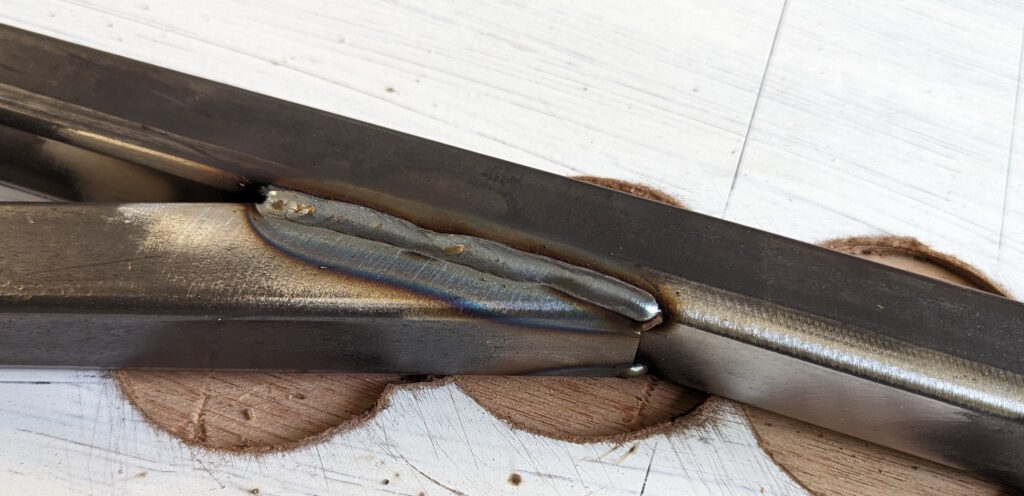
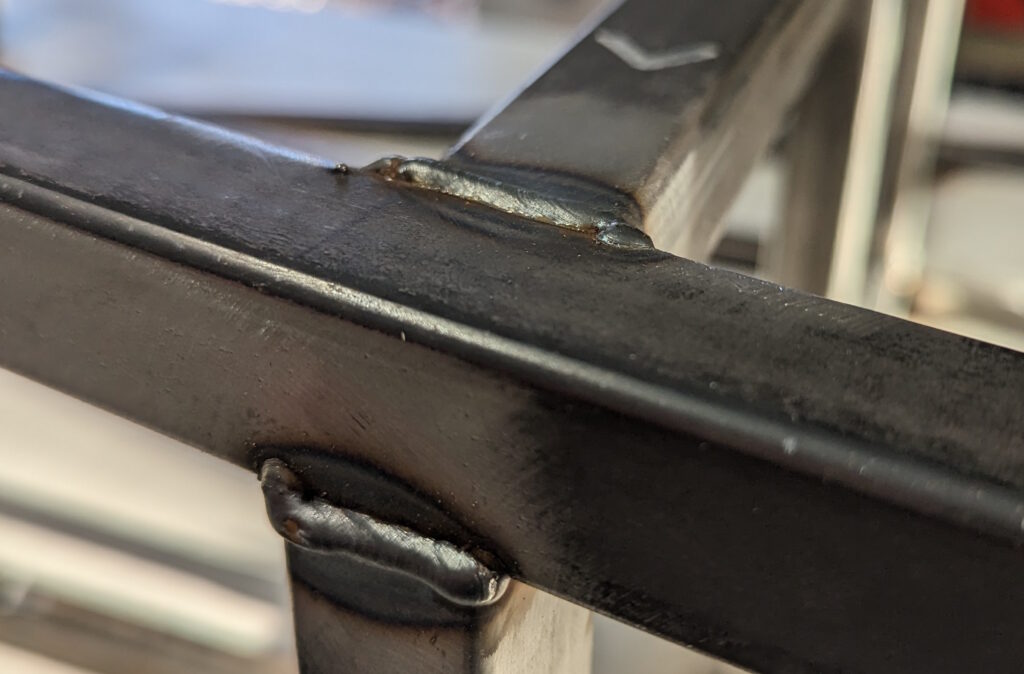
So, I am proceeding and trusting that my welds will hold.
Did more practice welding when starting the 12 gauge plates on the rear assembly. Tested welding plate edges and attaching the 16 gauge tubes to the plate. Good penetration.
